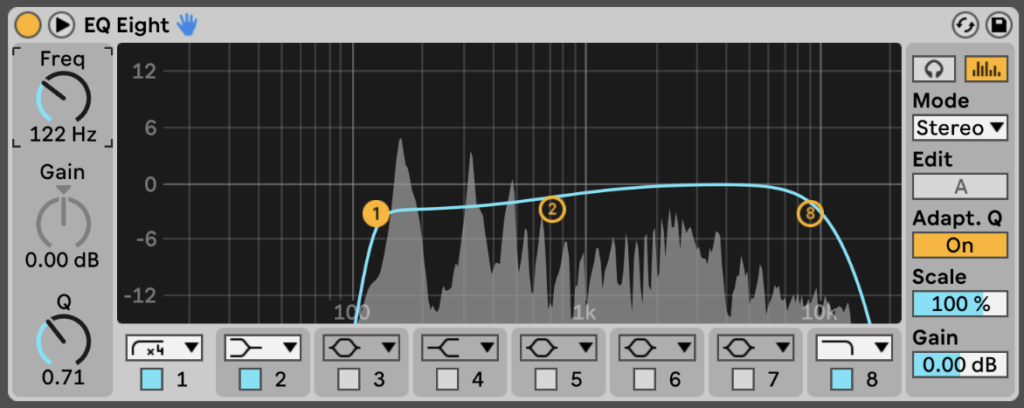
Step 1 – Corrective EQ
Corrective EQ is the practice of applying an EQ to fix problems with your vocal recording. It is best used before any other processing in your vocal chain. Usually this involves applying a high-pass filter to remove any unwanted noise in the low frequencies.
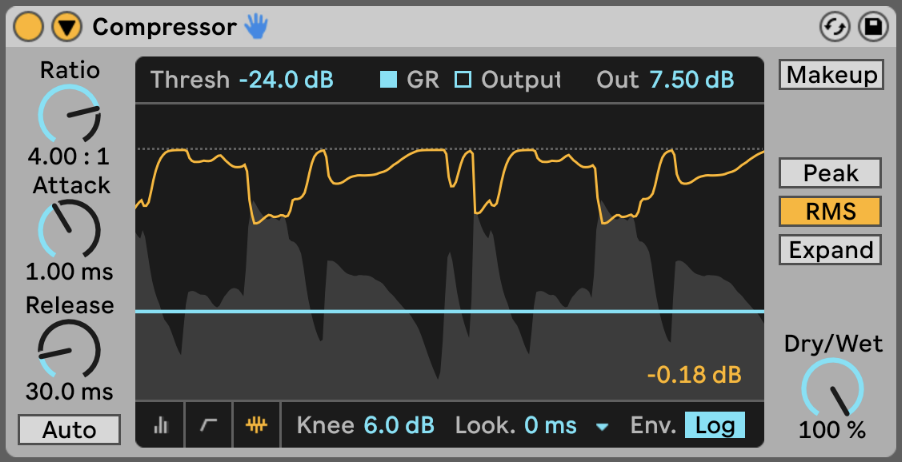
Step 2 – Compression
Compression is a key component in creating a clear, full vocal mix. Here are settings to produce incredible results:
- 3 to 5dB of Gain Reduction is a good range for lighter compression.
- 6 to 10dB of Gain Reduction is a good range for heavier compression.
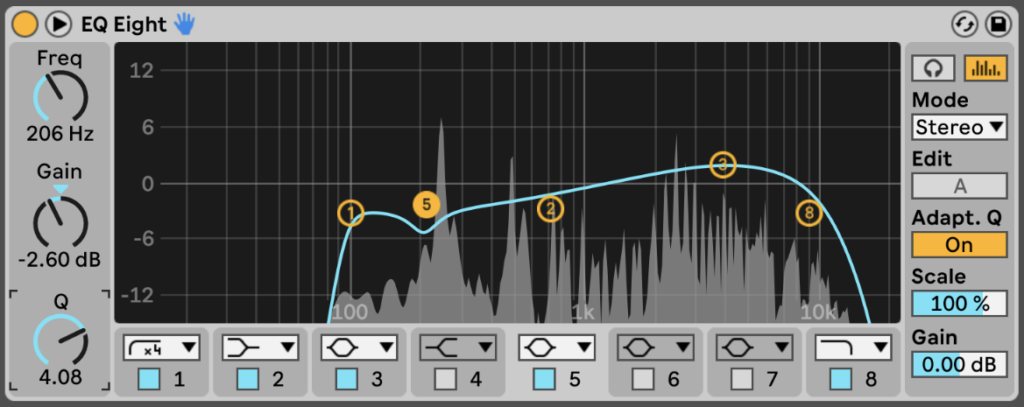
Step 3 – Tone Shaping EQ
After applying compression, it’s a good idea to add some Tone Shaping EQ. This EQ is used to enhance or reduce the tone by applying frequency boosts and cuts. This will shape the overall tone and help your vocals sit better in the mix.
Step 4 – De-Esser
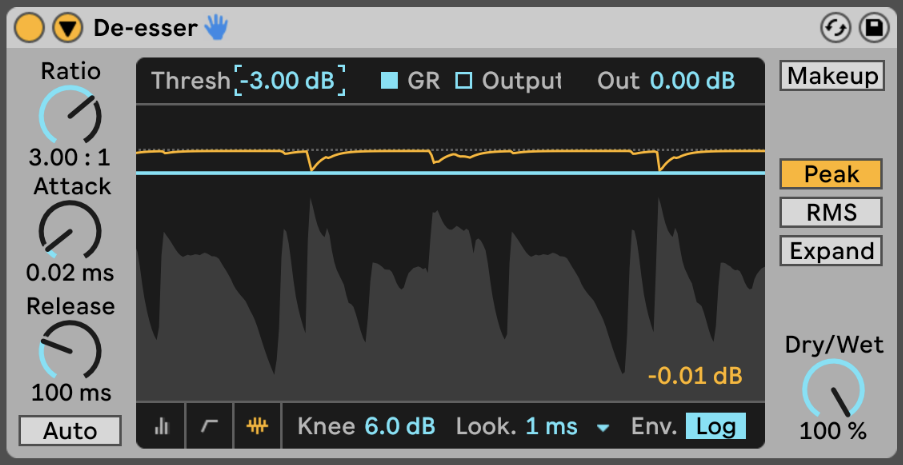
A De-Esser is a specific processor that reduces the loud sibilant sounds of a singer. (Such as “s”, “sh”, “t”, etc.). Compression & EQ can make the sibilance louder, so insert the DeEsser after Compression & EQ. Be careful not to apply too much De-Esser, or it may sound like the vocalist has a lisp.
Step 5 – Delay
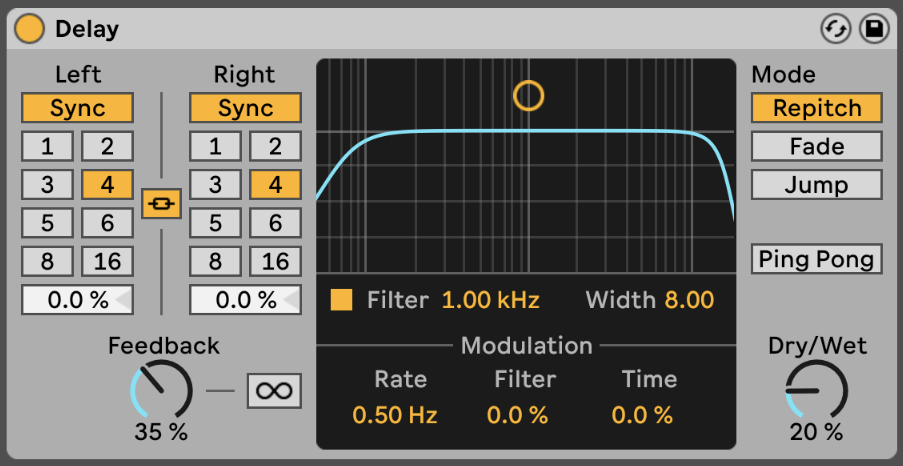
Delay is a crucial element in in giving your vocals space and depth in the mix. You can use a Ping-Pong Delay to make your vocals wider and bigger.
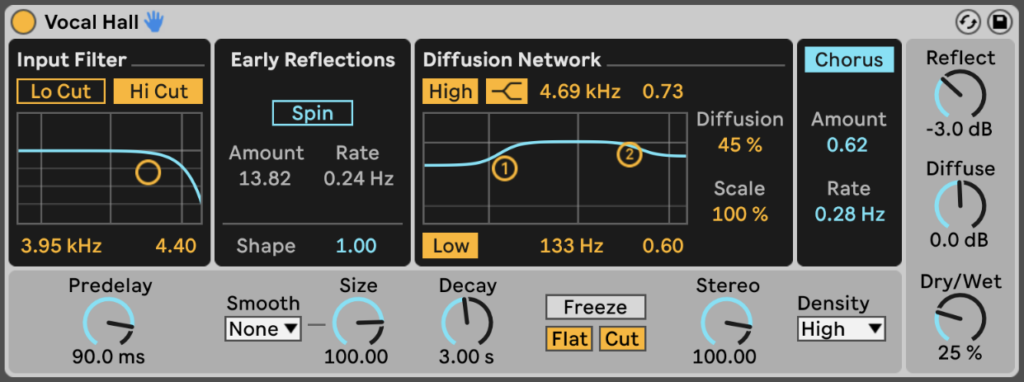
Step 6 – Reverb
Reverb is an important factor in giving your vocal space and depth in the mix. Reverb can be used on individual vocal tracks or Return tracks. Use the Dry/Wet Knob to adjust the amount of reverb signal. Set the Reverb level in context with the mix, too much reverb can cause muddiness.
